Learn how to

Showing posts with label decorating. Show all posts

12/31/10

Quick & Easy Mocktails & Appetizers: New Year's Party Food

What's your New Years Eve plans?

Hubby and I do not go out on New Years Eve. Normally he has to work the next day and I don't like to be out on the road with people who do not practice having designated drivers. There has been too many close calls for us and I've seen too many bad accidents.

This year my son, daughter in law, and their 4 children will be here to spend the night. Having a New Years Eve Party with children has always been my favorite type of New Years Eve Party. The kids LOVE it!

Here are some of my favorite appetizer and mocktail recipes for that last minute impromptu party, whether you have children included or just adults.

The best part... NO COOKING REQUIRED for these appetizers!

This Mocktail is what I will be serving the children; it's a classic and so fun! They love to watch me prepare their drink, and love drinking from my good stemware.

Appletini
2 oz apple juice
1/2 ounce of simple syrup
1/4 oz fresh squeezed lemon juice

Place all in cocktail shaker and shake well.
Rim a martini glass with sugar,
Strain cocktail into glass.
Using a tiny star cookie cutter cut out apple slices to float.

Mock Champagne Punch
Mix equal amounts of white grape juice and giner ale. Drop in frozen red and green grapes.
I'm using red sparkling grape juice and 7-up.


For some great adult cookie cocktails, let Betty Crocker lend a hand! Snickerdoodle, Coconut Macaroon & more.


Break out the fondu pot! This 3 Cheese is so easy and yummy.

A quick and easy appetizer is the Smoked Gouda Cheese Balls (scroll down a little). Stick a lollipop stick (or fancy toothpick)  in each to make it easy for guests to eat.


or try these Lollipop Goat Cheese Balls.

1 cup goat cheese
½ cup toasted pistachios
¼ cup golden raisins
12 lollipop sticks for presentation

Finely chop pistachios and golden raisins together. Roll goat cheese into 1" balls and then roll into nut/raisin mixture. Insert lollipop stick.
This recipe was styled by chef Karen Pickus for Good Morning America


And don't forget your tablescape.  Here's my favorite.  I love clocks and this will be fun for the kiddos if I can round up enough. 

The tablescape was featured in Taste of Home.

How will you be celebrating New Years?

12/9/10

Corndogs and Curtains

Do you ever have days when you feel like you get nothing accomplished? Or that 10 minute job turns into a much longer project?

Do you ever feel your "to do" lists keep getting longer and longer instead of shorter?

This week is one of those weeks for me.  Yesterday I needed to make some curtains for my patio doors to help insulate from the cold.  I had sheer curtains up that looked great but were just too thin.  The project that I thought would take 10 minutes took an hour and half.

So I needed something quick and easy to go with some leftovers for dinner.  What could be quicker than Corndog Muffins? Thank You Amanda from Better is Little.


2 boxes of Martha White Yellow Cornbread Mixes
1 cup of milk
2 eggs
2 Tablespoons brown sugar
1 cup shredded cheese
7 hotdogs cut up (we cut ours into smaller pieces so you get more hotdog in each bite of cornbread

Mix cornbread mixes and brown sugar together.  Add eggs and milk.  Stir well. Gently stir in cheese.

Spoon a little mix into bottom of 18 greased muffin tins.  Add hotdogs. We put three pieces in each.  Cover with remaining mix, filling muffins 2/3 full.

 Bake at 400 for 14-17 minutes until cornbread is done and golden.  Serve with ketchup & mustard dip.

Easy right?  I'm not sure who came up with the idea to put them into muffin tins and bake but I like it better than dipping and deep frying. 

Back to the curtains....

To keep the cost down on the curtains for my patio doors I chose to make them from canvas drop cloths.  This is another idea I have seen all over the internet but not sure who came up with it. I think the first time I seen it was on The Lettered Cottage.  


You see the valance part?  That's how much should have been cut off.  Instead I just folded it over and sewed across it twice to make the rod pocket,  (does anyone know what the real term for that is?) since I can't puddle them on the floor.

The two 6x9 canvas drop cloths cost me $16.  These doors are 104 inches wide.  Heavy curtains wide and long enough are expensive!  I figure I saved at least $50 but closer to $100 doing it this way.  What do you think?  They turned out pretty nice, hugh? I think I will make two more sets, one for the sun room and one for my bedroom.

Be sure to check back tomorrow.  I'll be posting a giveaway!


Search & Win

11/23/10

Dollar Tree Crafts- My Little Christmas Trees


My trees are done!  Robin of All Things Heart and Home techniques made this project quick and fun.  Thanks Robin!
And here is where I needed some little trees.


I set this little store up every Christmas in honor of my husband's grandfather whose last name was Davis.  He is greatly missed.

The total cost of the tree project using the items found at Dollar Tree was $4.  I had everything else on hand.

To see the supply list for these trees and the process, go HERE.


Search & Win

Dollar Tree Tiny Christmas Trees


Are these trees not the prettiest thing?  When I first seen them I was guessing they were from Pottery Barn with a price tag around $79.99, but they were made by Robin of All Things Heart and Home.  AND they are easy to make.... now that Robin has figured out the secret to it and shared it with all of us.  I want some!  I have the perfect spot for them.

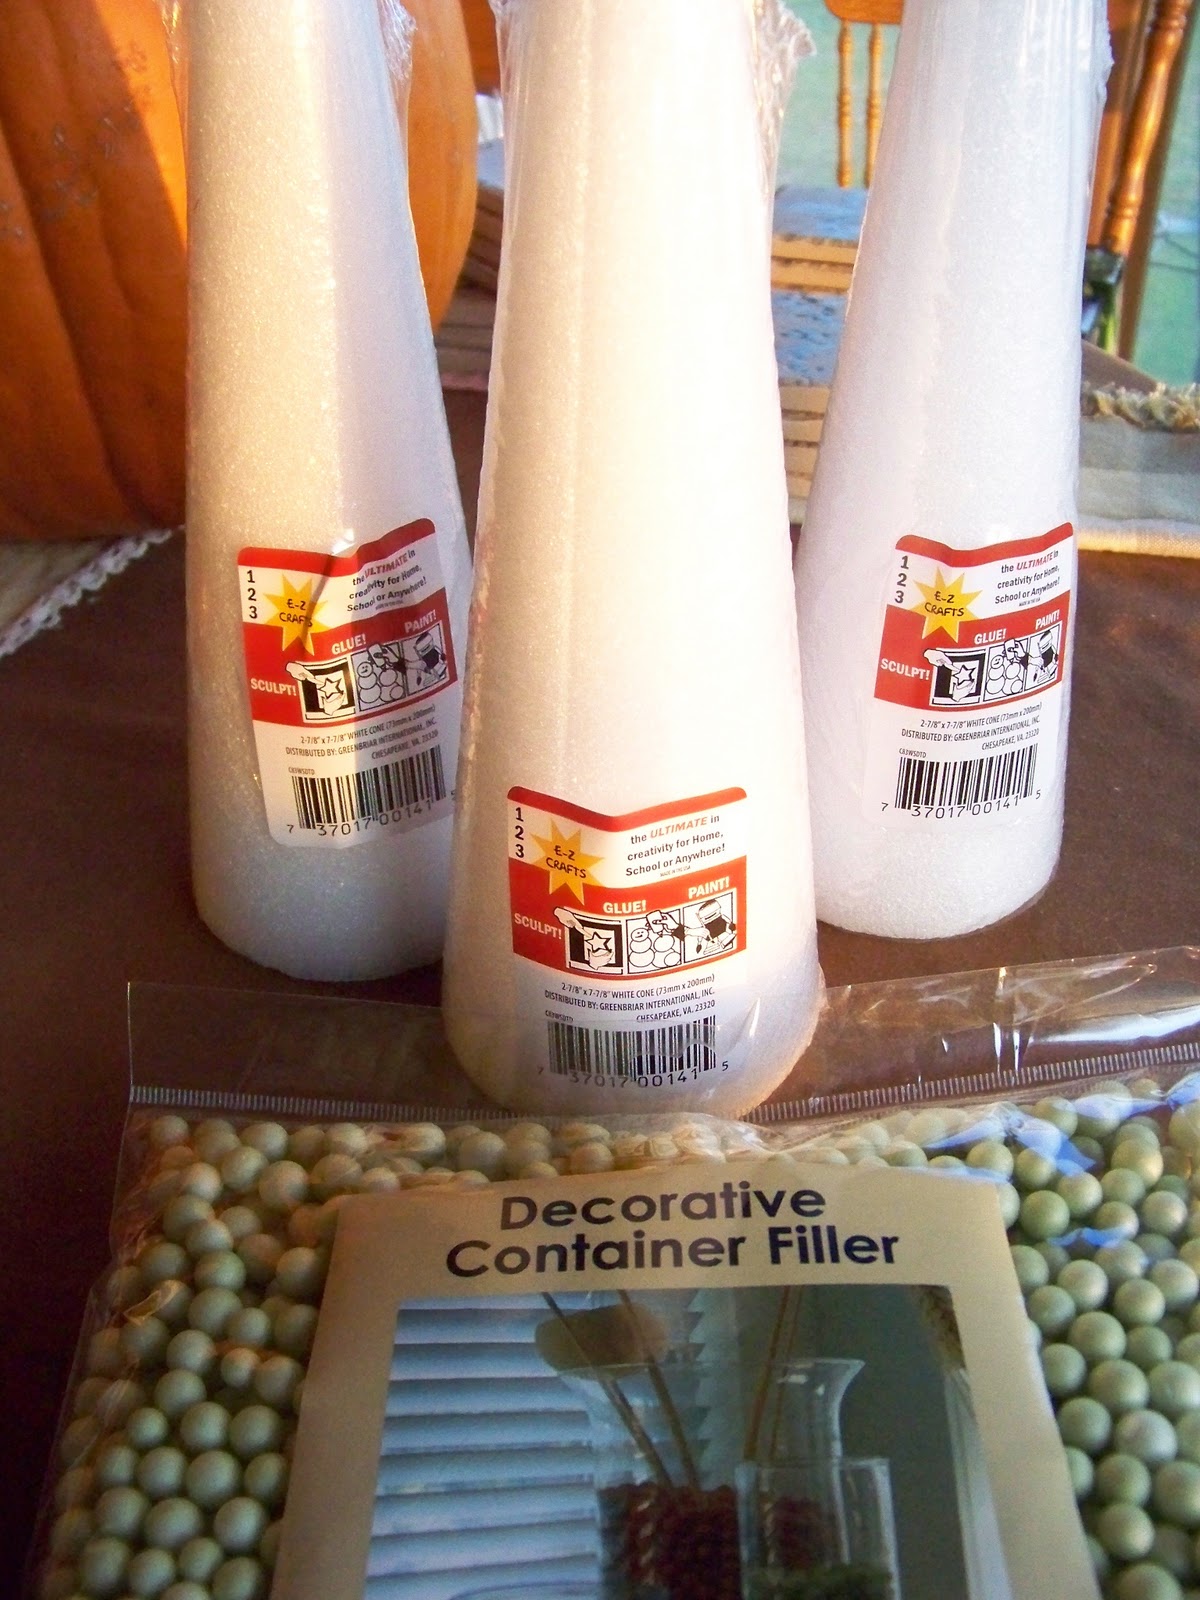
Robin found her little foam balls at JoAnn's.  I found mine at Dollar Tree. Yep, I stopped at a Dollar Tree I had never been in before and spied these:


I'm going to try Robin's technique and I hope it works on the little balls I bought.


I also bought my cones from Dollar Tree.  I'm off to see how it comes out.  Be sure to check out Robin's secret on how to make these cuties.

What project's are you working on this week?  Getting your home ready for Thanksgiving get togethers?  Putting up Christmas decorations?

ETA: My trees are done!  You can see them HERE.

4/28/10

Spring Welcome Makeover

I've been trying to "spruce" things up around here since I'm not working and have the time.

One thing that was looking really sad and neglected is my Birdhouse on the porch. This is one of the first things hubby brought home to me from the trash. At that time (years ago) it looked brand new. I love it and can't part with it, so I decided to make it over.


The roof had a piece broke off that needed replacing. The little bird had cracked. The climbing vine had lost more leaves than was left. The original sign was lost years ago and it needed it's paint job freshened up.


Look at it now. Full of Spring!


I decided to dry brush new paint on it so it would still look distressed but yet refreshed and tacked on a new vine.

Then I removed the old roof and replaced it with metal flower bed edging which also came from a dumpster dive excursion. :) {I thought I was pretty ingenious for this idea, BUT check out what Laurie did HERE}. I used furniture tack/nails to give the roof some detail.

One piece of the old roof was painted with chalkboard paint to make the new sign. Now I can change it to say whatever I want! I already changed it. lol It now says "Welcome to Our Nest".


I removed the old cracked bird and wasn't going to put another one on since I didnt have one that small. Then I remembered someone (mother?) had given me these little birdies. I dry brushed them to lighten them up a little and gave them their new home.


Aren't they cute?

Anyone else been doing some spring cleaning and sprucing up?


And if you're here from the Gettin Crafty Party, be sure to let me know so I can visit you.
Hump Day link

or from Trash To Treasure

4/27/10

Dollar Tree Bird Makeover

I finally found some of those cute little birds at Dollar Tree for $1 each! Birds sing spring to me and I have spring fever.

The only problem is, my Dollar Tree only had the gold birdie and I really didn't like the color.


So I decided to give her a makeover and dry brushed her with some #320 Jamaican Sea Folk Art paint by Plaid. I LOVE Plaid's Folk Art acrylic paints for this technique.


What a difference paint can make! Now she needs a nest.


ASPTL


Making

The Girl Creative


Hump Day link

4/8/10

How to Frugally Antique a Mirror

I found a mirror in the trash that had a pretty frame. The mirror's frame was this color:


(I forgot to take a pic)

I used black spray paint and sprayed it:


For me, it was too flat and plain. It needed to be softened and all the detail on the frame needed to stand out more.

I decided to "antique" it. There are many ways to antique things and just as many products on the market now. I used a technique I used in ceramics years ago using what I already had on hand....Watered down paint.


The most common ratio to use is a 1:1. Half water/half paint. For this project I used a 1:2 ratio, or 1/2 cup water to 1 cup paint. You sponge, rag or brush on your mix and then rub off with a lint free rag.

Easy peasy! And it didn't cost me anything for a glaze. I used white house paint I had on hand.

For other great projects head over to Transformation Thursdays hosted by The Shabby Chic Cottage.

4/6/10

A Turquoise Table

I have always loved and am drawn to the color turquoise. Jewelry, clothes and anything for my home.

A couple years ago I found this little bistro set in the trash where I worked. I thought it was the perfect size for the corner in the man cave for extra sitting.


In January when I was hauling Christmas decorations back downstairs I notice my bistro set had been moved from the man cave's pool room to my holiday closet! Apparently it wasn't manly enough with the heart shaped chairs. lol I thought to myself "Well poohey on him, if he doesn’t want my bistro set in his 'man cave', I want it upstairs in my parlor!"

I went to my stash closet and started pulling material out. I decided on these turquoise pieces I found over time at my thrift store for the tablecloth. They sell material as "panels" for $1.49 each.

A couple weeks ago I found these awesome dessert plates for .49 each. And the little 4 piece porcelain espresso set at another thrift store for $3. It was still brand new in the package.


The rescued little table dressed up in turquoise makes me happy. Why would anyone want to throw it away?

What color makes you happy?

Join the Single Nester for Turquoise Tuesday!

and dont miss the party at Cottage Dreamers!

4/5/10

Making a Spring Cloche

The parts: a candlestick bought from Goodwill for $1.99, a cheese dome I've had for years, a dome bought from Old Time Pottery for $2.99, a nightlight found in a box of my aunt's junk and a piece of a lamp.


I popped the plug part out of the night light. I sprayed the candlestick and wood base to the cheese keeper/server. Seriously, what are these things called? Anybody?


I stacked it all up. Then I took a little mini grape vine wreath (.10 at thrift store) and a straw decoration off another wreath; curling it around the grape vine to make the nest. I glued it to a stick cut from my yard. The two little blue eggs are candy. lol I printed off some sheet music from the internet.
I didnt glue anything together but the wreath, nest, twig and eggs. That way I can change my cloche around to get different looks whenever I want. ~Yes, I have a problem committing~


I love it. So simple, so clean looking. So what do you think? Does it work for you?

Now head over to Thrifty Decor Chick's Party for more before & afters!


and check out Reinvented: Trash To Tuesday!

4/4/10

Spring Mantel


Decorating my mantel is always a challenge for me. spelling it is another challenge... haha I don't decorate it for any of the holidays other than Christmas because it takes me too long to get it to where I like it. By the time I like it, the holiday is over. Decorating it for the seasons gives me 3 months! I've had all of February and March to get it ready for Spring.

Here is how my mantel currently looks. It's close, but still not satisfied!
The heart shaped rock my husband found and presented to me as a token of his love for me.


I found this at the thrift store Thursday for $1.99! I wiped it off with a damp cloth and that's all.


The cloche I made myself, total cost $2.99.


So what do you think? Too much?

Be sure to visit others for:


3/25/10

Show Me Your Repurposed Baby Crib Projects

I have the baby crib both my sons and one grandson used. All but the mattress. :(
None of the thrift stores around here will accept used cribs (or any other baby furniture such as high chairs and playpens) due to new safety regulations and liability. Not wanting to throw it away but not wanting to just keep it in storage as a keepsake I decided to figure out a way to repurpose it and have found some great project ideas.

To use the springs, I found these great projects:

Photo display by Cottage Elements:


A kitchen command center/message board by Funky Junk Interiors:


Candy Ellen's Weaved Wall Art:

Candy can also be found on her site Junk Sophisticate.

Country Home Office Wall Organizer Inspired by Cottage Elements:


To use the end panels and/or side rails:

Jenny Lind Crib Bench


To use the mattress:

Shabby Nest's Seat Cushion:


I want to see more projects! Use this cool new inlinkz to link up your project! It's fast, easy and fun! You will get to show a thumbnail of your project right here on the link board.